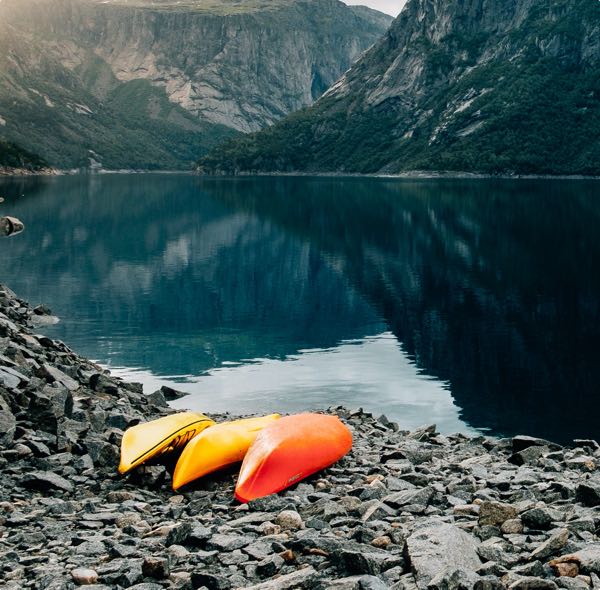
Where To Go
Popular Destinations

Ultricies Tristique Aliquet
Egestas quis ipsum suspendisse ultrices gravida. Sed adipiscing diam donec adipiscing tristique risus nec feugiat in. Arcu risus quis varius quam quisque id diam. Aliquet enim tortor at auctor urna nunc id.

Semper Duis Attellus
Dignissim sodales ut eu sem integer. Odio pellentesque diam volutpat commodo sed egestas egestas. A arcu cursus vitae congue mauris rhoncus. Viverra mauris in aliquam sem fringilla ut morbi
Condimentum Mattis Pellentesque Dnibus Tortyga
Malesuada fames ac turpis egestas sed tempus urna et pharetra. Urna duis convallis convallis tellus id interdum velit laoreet id.
Diam maecenas ultricies mi eget lobortis elementum tellus molestie odio pellentesque diam volutpat commodo sed egestas egestas.
Amelia Simpsons
Blogger / Nomad Traveler / Florida
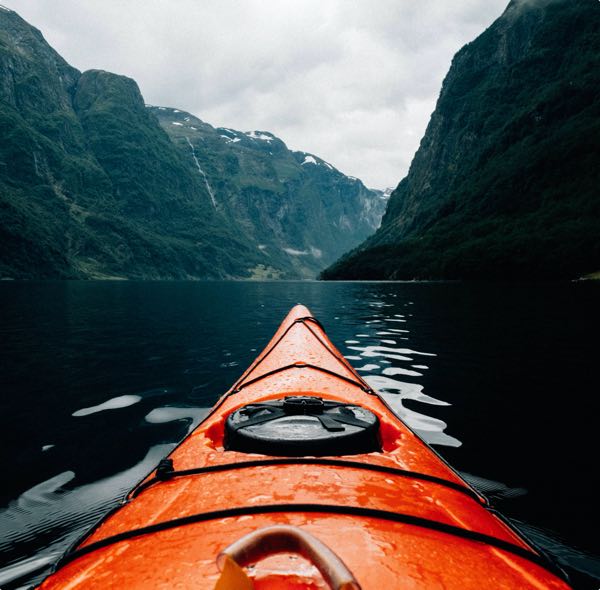
Trips Gallery
Completed Journeys


Volutpat Lacus Laoreet Non Curabitur
Malesuada fames ac turpis egestas sed tempus urna et pharetra. Urna duis convallis convallis tellus id interdum velit laoreet id.
Diam maecenas ultricies mi eget lobortis elementum tellus molestie odio pellentesque diam volutpat commodo sed egestas egestas.
Nullam Eget Felis Ogetnunc
Malesuada fames ac turpis egestas. Amet luctus venenatis lectus magna fringilla urna porttitor. Dictum fusce ut placerat orci nulla pellentesque.
Cras adipiscing enim eu turpis egestas pretium. Aenean sed adipiscing diam donec adipiscing tristique.
Justo Laoreet Sitamet Cursus
Vitae aliquet nec ullamcorper sit amet risus nullam eget felis. Leo urna molestie at elementum pellentesque habitant tristique.
Tempor commodo ullamcorper a lacus. Nunc scelerisque viverra mauris in. Nisl nunc mi ipsum faucibus vitae.